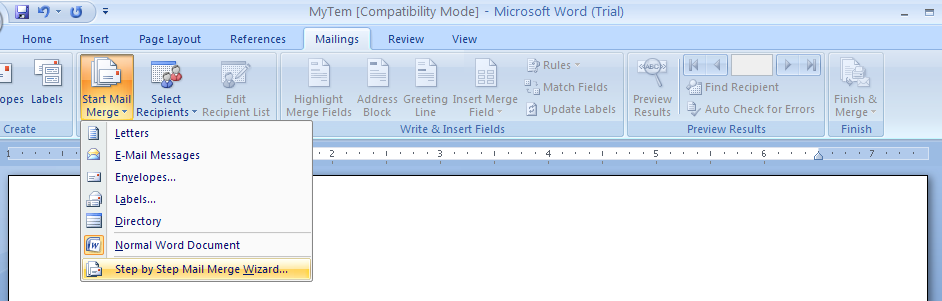
Click the Mailings tab.
          Click the Start Mail Merge button.
          Then click Step by Step Mail Merge Wizard.
The Mail Merge task pane opens
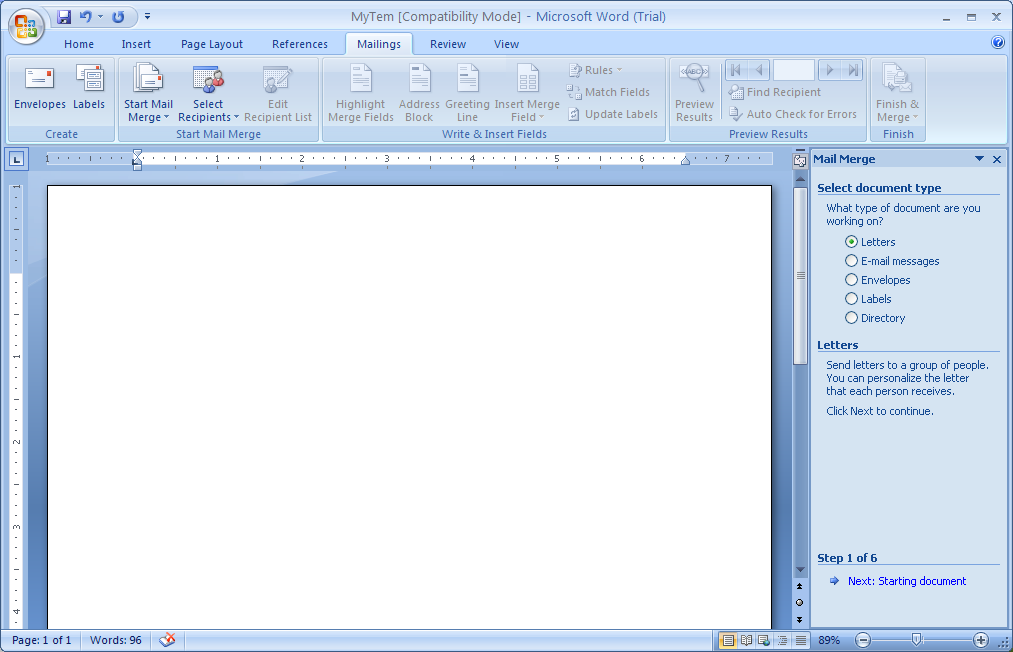
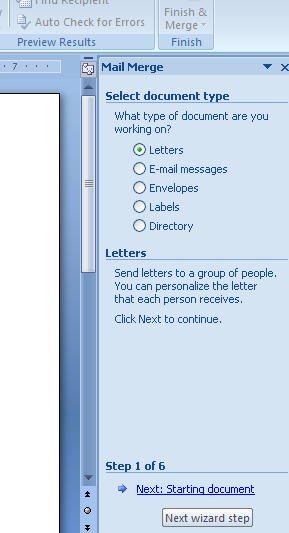
Select the type of document.
          Then Click Next.
In Step 2, use the default settings. Then Click Next.
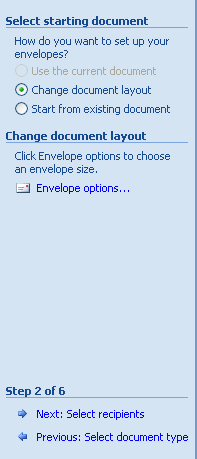
On Step 3 of 6 in the Mail Merge task pane,
          click the Type a new list option.

Click Create.

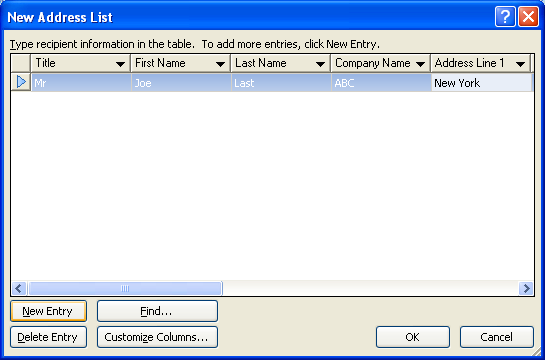
Input the information for the first record.
          Then click New Entry.
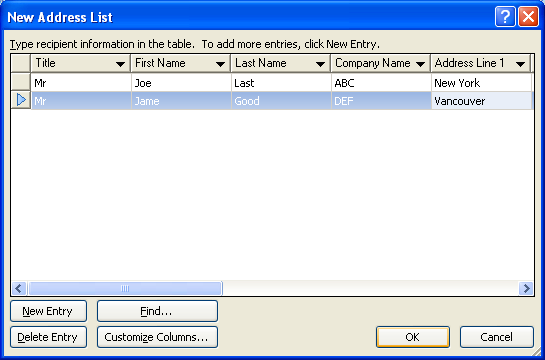
Continue to input additional records
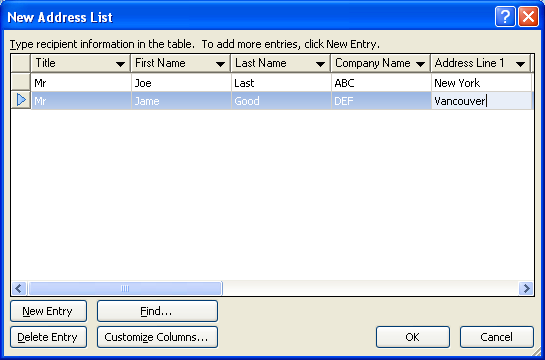
Then click New Entry after each one until all records have been entered. Then click OK.
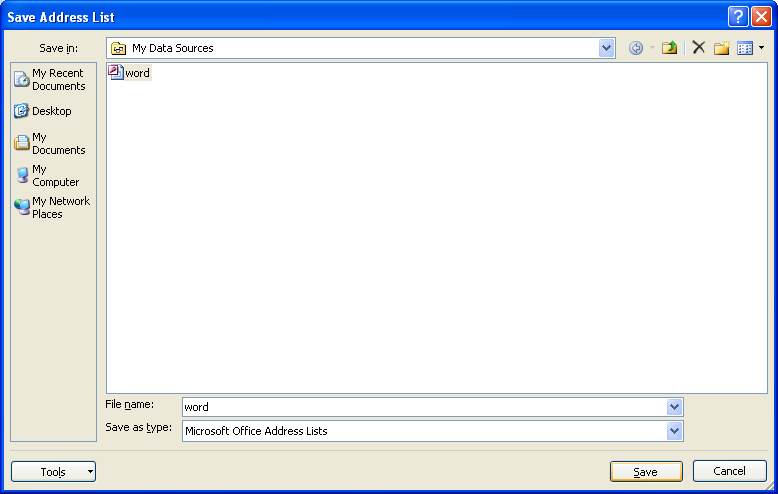
The Save Address List dialog box opens.
          Enter a name. Then click Save to save your work.
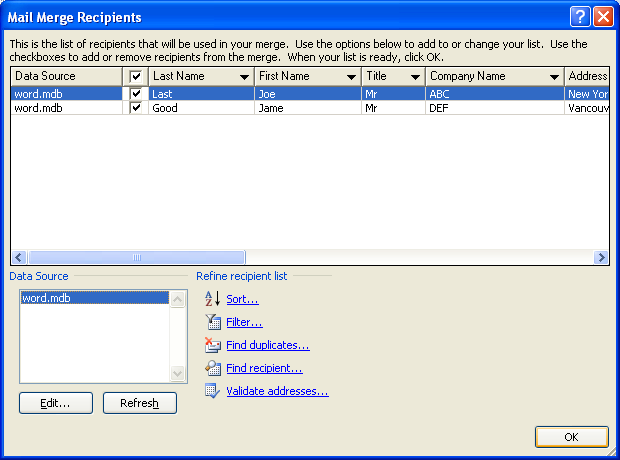
The Mail Merge Recipients dialog box opens
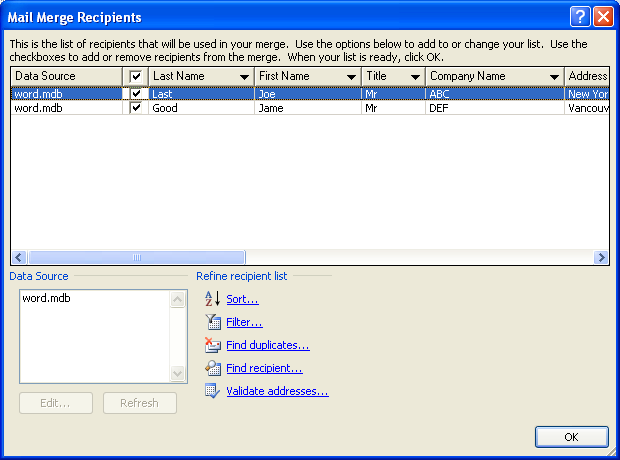
Edit the recipient data

Then click OK.