Enter Data in the Worksheet : Chart Create « Chart « Microsoft Office Word 2007 Tutorial

| 7.1.Chart Create | ||||
| 7.1.1. | Insert and Create a Chart | |||
| 7.1.2. | Open and View Chart Data | |||
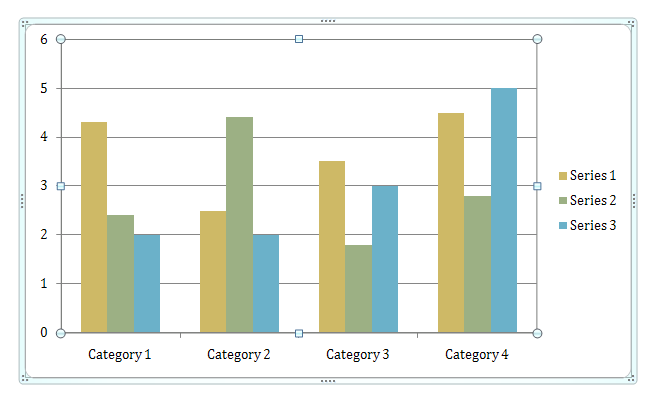
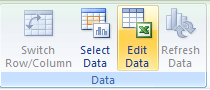
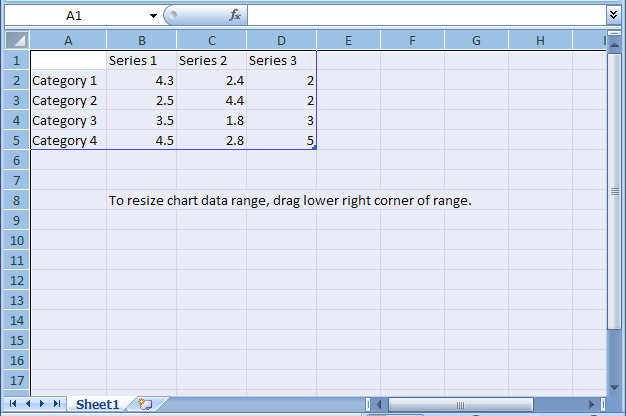
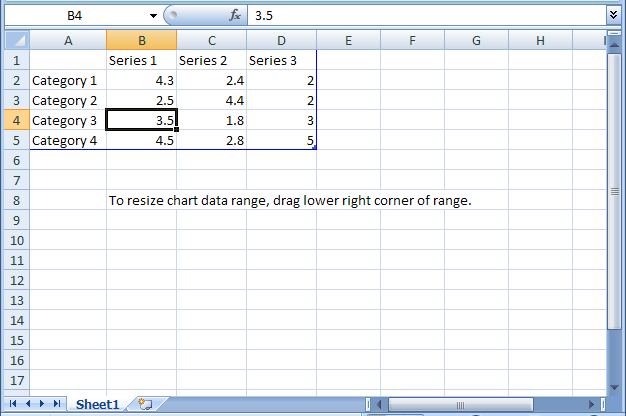
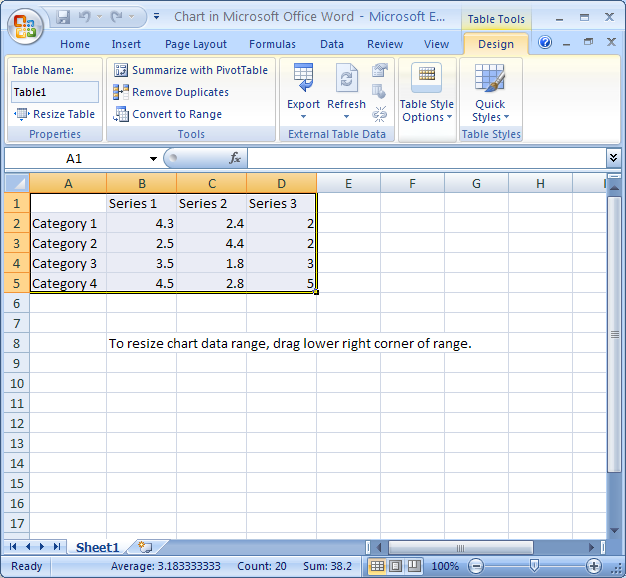
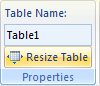
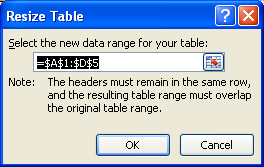
| 7.1.3. | Enter Data in the Worksheet | |||
| 7.1.Chart Create | ||||
| 7.1.1. | Insert and Create a Chart | |||
| 7.1.2. | Open and View Chart Data | |||
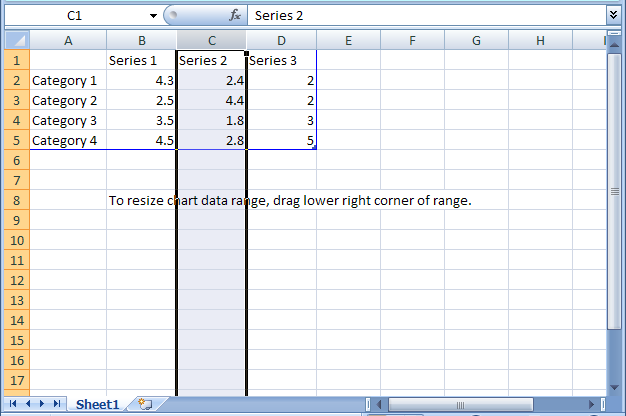
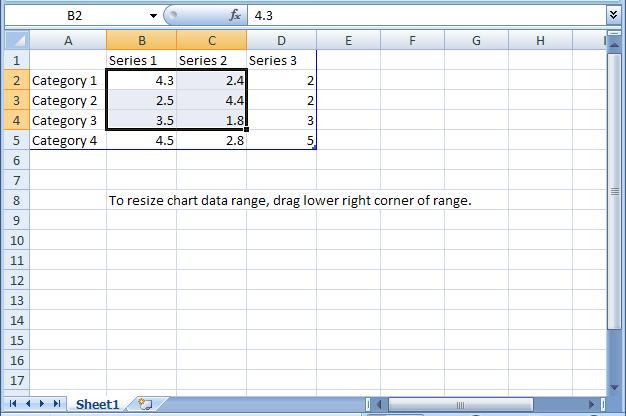
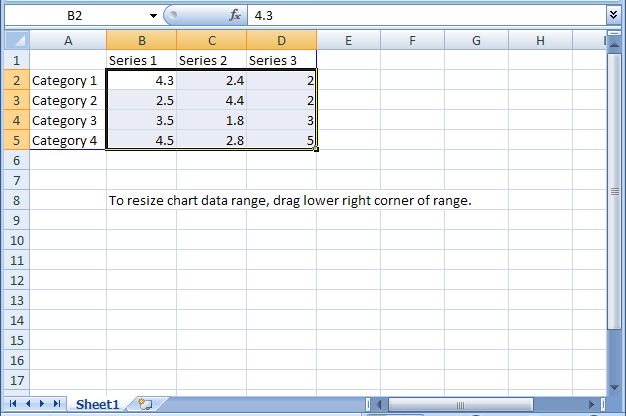
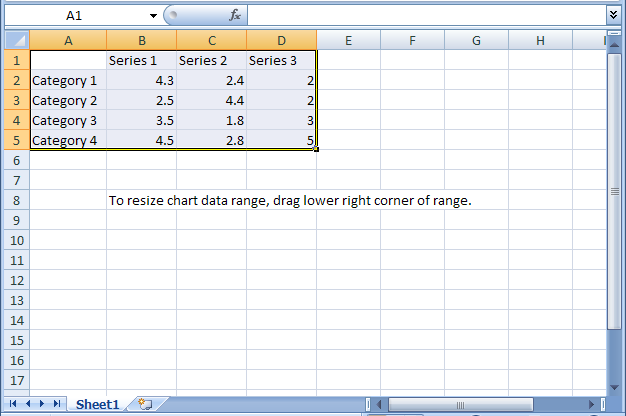
| 7.1.3. | Enter Data in the Worksheet | |||